
### 1. Introduction
Connecting wired headphones to a Windows 11 PC is a straightforward process, but new users may sometimes face confusion due to different ports, settings, and device recognition issues. Wired headphones are preferred by many because they deliver stable sound quality without latency. How to Connect Wired Headphones to Pc Windows 11 Understanding the correct way to connect and configure them ensures the best audio experience whether you’re working, gaming, or simply enjoying music.
### 2. Checking Your Headphone Jack
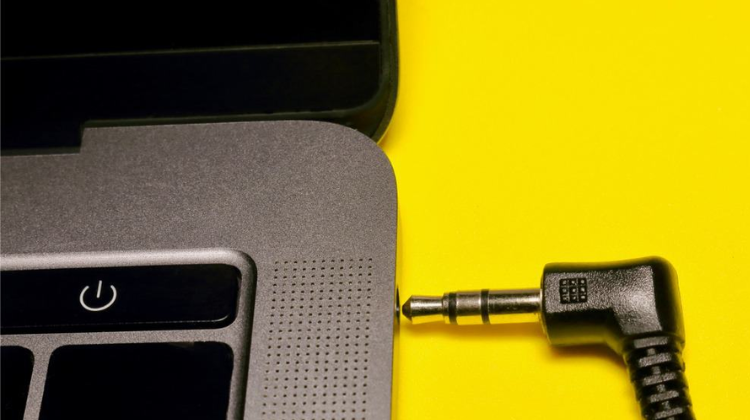
Before connecting your headphones, it’s important to identify the type of headphone jack available on your PC. Most modern desktops and laptops have a **3.5mm audio port**,
while some may use a combined audio and microphone jack. Older or high-end desktops may also have separate ports for headphone output and microphone input. If your headphones have two plugs, you need to match them to the correct ports.
### 3. Using a USB Headphone Connection
Some wired headphones come with a USB connector instead of a 3.5mm jack. In such cases, simply insert the USB plug into an available USB port on your computer.
Windows 11 will usually detect it automatically and install the necessary drivers. If your headphones have extra features, such as virtual surround sound, you may need to install additional software from the manufacturer’s website.
### 4. Plugging in the Headphones
For standard 3.5mm headphones, locate the audio port on your laptop or desktop. On laptops, this is usually found on the side, while desktop PCs often have ports at the front or back of the CPU.
Insert the headphone plug firmly until you hear a slight click. Ensure the connection is secure, as a loose connection may result in distorted or no sound.
### 5. Configuring Sound Settings in Windows 11
After plugging in your headphones, open the **sound settings** to make sure your PC is using them as the default output device.
You can do this by right-clicking the speaker icon in the taskbar and selecting **Sound Settings**. Under the “Choose where to play sound” section, select your connected headphones. This step ensures that all system sounds and applications route audio through your wired headset.
### 6. Troubleshooting No Sound Issues
Sometimes, headphones may not play audio immediately after being connected. In such cases, first check the volume controls both on your computer and on the headphones themselves, if available.
Next, verify that your headphones are set as the **default output device** in Windows 11. If the problem persists, try reconnecting the headphones, restarting the PC, or updating the audio drivers through **Device Manager**.
### 7. Using a Headphone with a Splitter
If your PC has separate ports for microphone and headphone jacks, but your headphones use a single combined plug, you may need a **3.5mm splitter cable**.
This adapter separates the audio input and output, ensuring both your microphone and headphones function correctly. Splitters are inexpensive and widely available, making them a useful accessory for smooth connectivity.
### 8. Enhancing Audio with Windows 11 Features
Windows 11 provides several built-in audio enhancements to improve your headphone experience. You can enable features like **spatial sound (Windows Sonic or Dolby Atmos)** for immersive 3D audio, as well as bass boost and equalizer options available in your sound settings. Exploring these features can make a big difference, especially for gaming or watching movies.
### 9. Keeping Drivers Updated
For the best performance, always ensure your PC’s audio drivers are updated. Outdated drivers can lead to connectivity issues, poor sound quality, or even the system not recognizing your headphones. You can update drivers via **Device Manager** or by downloading the latest version from your sound card or motherboard manufacturer’s website.
Conclusion
Connecting wired headphones to a Windows 11 PC is generally simple, but proper configuration ensures you get the best sound experience. From checking the right port to setting the default audio device and keeping drivers updated, each step contributes to smooth functionality. By following these guidelines, you can enjoy uninterrupted, high-quality audio for work, study, or entertainment.